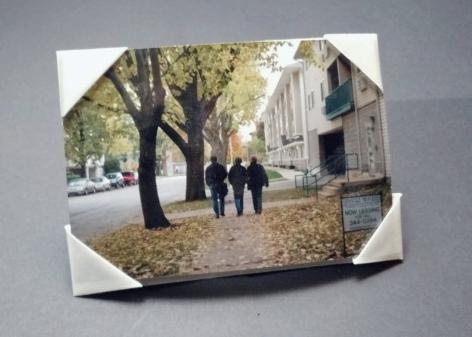
Origami Picture Frame
This frame can be folded with standard printer paper sizes. Once you understand the basic design, it can be adjusted to fit a number of different sized photos.
I originally found a basic version of this design somewhere online in Chinese, so I can’t take full credit for it. The original design didn’t fit standard printed photo sizes, but wasn’t too difficult redesign to be more flexible.
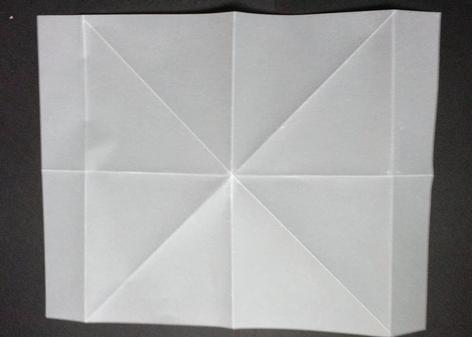
Fold a waterbomb base in the center of the page.
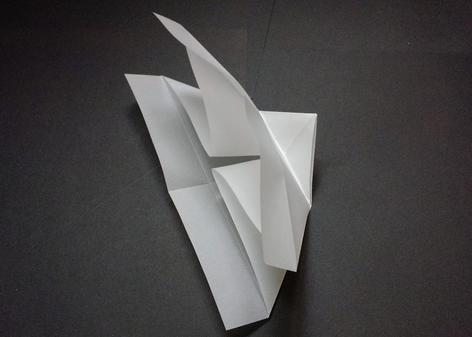
Fold the tail up. This tail will become the stand on the back of the photo frame. The ideal size will probably depend on the size of the photo that will go into the frame.
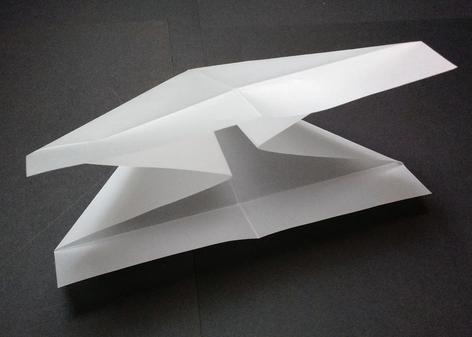
Open up the inside of the waterbomb base and flatten it.
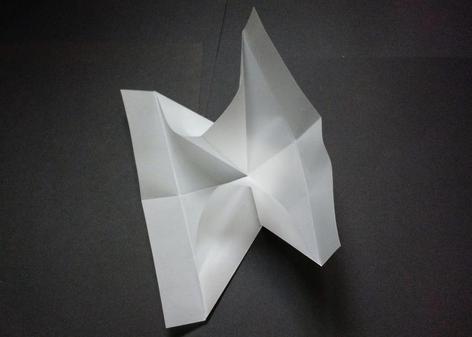
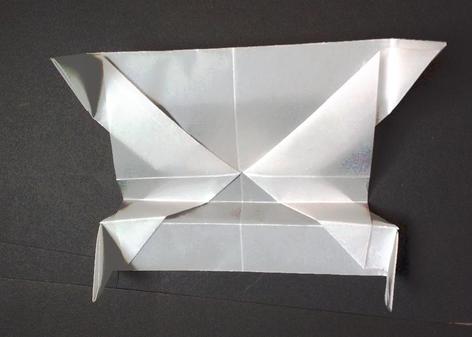
Fully flattened:
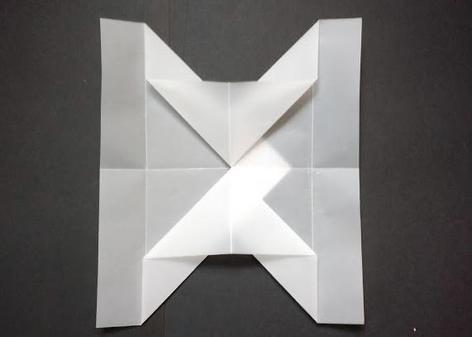
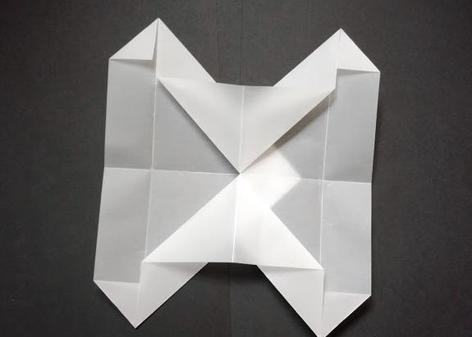
Fold the corners in and then fold the extra matrial beind everything. The triangle pieces that are sticking out will be the triangle pieces that actually hold the photo.
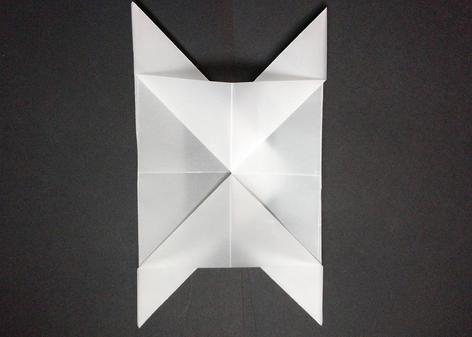
Rotate 90 degrees.
Take a references photo and set it on top of the frame. The triangles will still be sticking out. Fold these over the photo as shown. This adjusts the frame so it fits the picture.
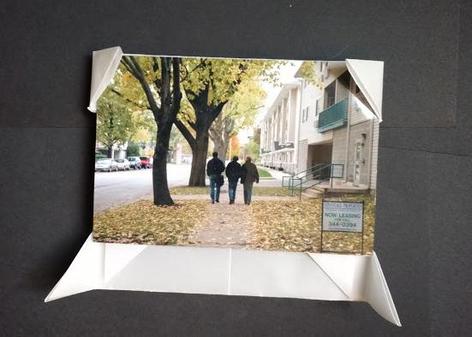
The frame will also usually be too tall. To fix this you will need to fold up the frame to shorten it so that it fits the height of the photo:
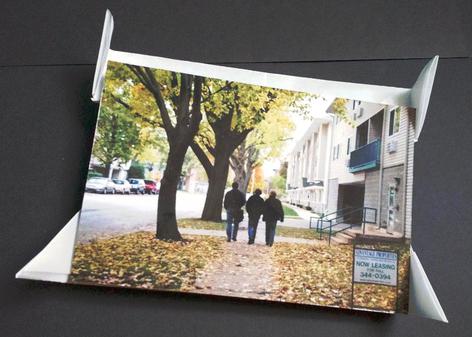
Tuck the photo into the pockets created by the triangles:
You may need to play around with the stand in the back to get it to stand up well. Depending on how tightly you fold this around the photo, it may bow out a bit. I personally find this attractive and it helps make the frame more stable.
You probably want to use a heavy kind of paper for this project. Additionally, you may also find that the paper isn’t heavy enough by itself to prevent it from being easily knocked over. Fortunately, there are plenty of pockets in the design where somethign heavy, like a quarter, can be kept to add some weight. In particular, you can usually add some weight in the stand in the back and in the pocket along the bottom of the frame.